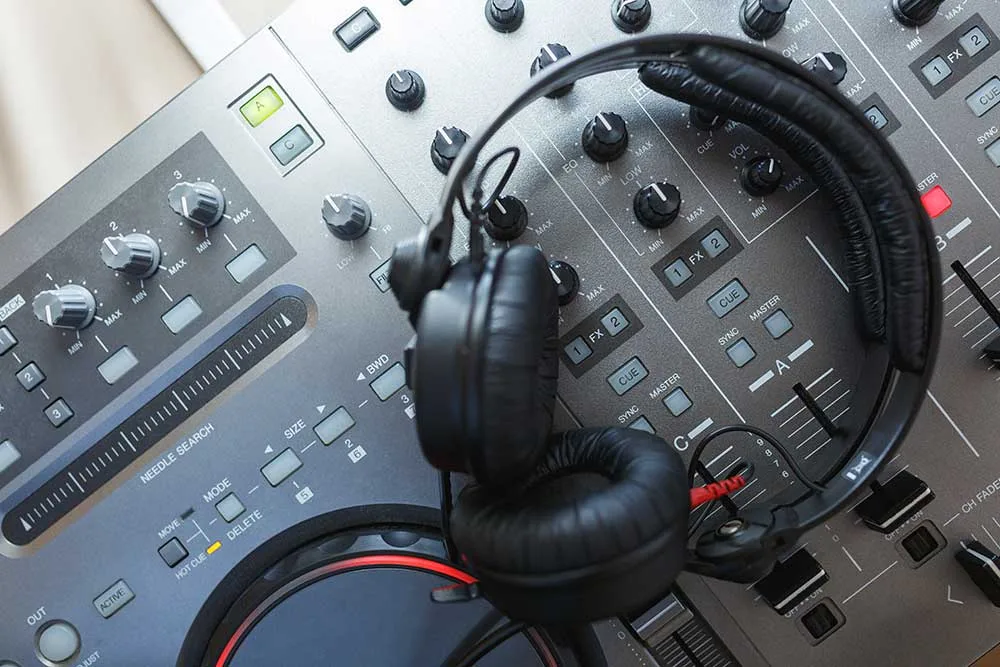
Most audio editors spend years tweaking knobs and never close the gap between their work and what professionals produce. The difference rarely lies in expensive gear or rare talent — it comes down to a precise combination of EQ shaping, dynamic compression, and surgical crossfades that most people apply carelessly or not at all. These techniques interact in ways that can transform a muddy, lifeless recording into something that commands attention. Understanding how they work together is what separates the frustrated hobbyist from the confident professional.
Master Trimming and Cutting Before Anything Else
Trimming and cutting your audio is the first step toward a clean, professional mix. Every great result in audio editing starts here. You’ll use the selection tool, activated by pressing F1, to highlight unwanted sections. Then press Delete to remove them instantly.
For audio mixing precision, use Command + T or Control + T to trim your clip. This keeps only your selected portion. The process is non-destructive, meaning your original recording stays intact. You can drag the clip edges to recover hidden sections anytime. Professional studios rely on high-speed network switches and NAS hardware to ensure editors can access large multi-camera recordings without interruption during post-production.
Zoom in using Command + 1 or Control + 1 for detailed work. Zoom out with Command + 3 or Control + 3 to check broader perspective. These tools help you make frame-accurate cuts confidently and consistently. After trimming, always move your clip to the 0 seconds start point to ensure your export begins without unwanted silence.
Use Fades and Crossfades to Create Seamless Audio Transitions
Fades and crossfades smooth out the rough edges between audio clips. In audio editing and mixing, these techniques eliminate gaps and prevent distracting pops or clicks. You’ll sound like a true professional when passages feel intentional.
Here are four key practices to apply:
- Place crossfades at the quietest spot in your audio for the cleanest blend.
- Use equal power fade shapes when mixing tracks with similar tempos to prevent mid-fade volume drops.
- Apply a five-second overlap as your starting point for music transitions.
- Align edit points to zero crossings to reduce unwanted artefacts.
These techniques work across DJ sets, vocal editing, and loop creation. Applying crossfades routinely, even when passages sound fine, represents professional best practice. When deleting audio before a fade-in, use Split Delete to avoid unintentionally shifting the remaining audio out of position. For voice recordings, pairing these editing techniques with a properly treated room reduces reverberation time and ensures cleaner edit points with fewer artefacts to correct in post-production.
Shape Your Sound With EQ, Gain, Compression, and Noise Reduction
Clean cuts and smooth crossfades get your audio clips sitting neatly together, but shaping how each clip actually sounds requires a different set of tools. EQ, gain, compression, and noise reduction are core to professional audio editing.
| Tool | Purpose |
|---|---|
| EQ | Cut 200–500Hz mud, increase 4kHz presence |
| Compression | Ratio 4:1 controls vocal peaks |
| Noise Reduction | High-pass filters remove rumble below 80Hz |
You’ll use subtractive EQ first, cutting problem frequencies before adding increases. Gain staging follows, keeping headroom clean and preventing clipping. Compression then evens your dynamics without squashing your sound. Quality professional audio gear makes these adjustments more precise and reliable. Audio Africa supplies the infrastructure that supports great results in audio editing environments. A high-pass filter removes unwanted low-end noise by allowing only frequencies above a set point to pass through while cutting everything below it. Broadcast mixing consoles, available in both analogue formats for community stations and large digital configurations for national broadcasters, provide the signal routing and control necessary to apply these processing techniques with accuracy across every channel.
Group and Layer Tracks Like a Professional Mix Engineer
Once your clips are shaped and balanced, grouping and layering tracks is how professional mix engineers bring order to complex sessions. This approach keeps your audio editing workflow organised and your audio mixing console manageable.
Follow these 4 steps to group and layer like a professional:
- Label every track using consistent names like “Vox Lead” or “Drum Kick” before grouping.
- Colour-code by category — drums, vocals, and bass each get a unique colour for rapid scanning.
- Route grouped tracks to auxiliary submix buses for isolated auditioning and cleaner control.
- Group by attributes — link volume, pan, mute, and solo for simultaneous adjustments across related tracks.
Applying these techniques gives your sessions structure, keeps collaborators aligned, and delivers a great result every time. In broadcast environments, engineers apply this same discipline using multi-bus control surfaces to enable instant switching across dozens of live audio sources without confusion. The entire setup process typically takes only 5–10 minutes but saves substantial time across every future mixing session.
Apply Time Stretching, Stereo Imaging, and Spatial Mixing Techniques
With your tracks grouped, labelled, and routed to submix buses, you can now sharpen how those tracks sit in time and space. Time stretching adjusts audio speed without changing pitch. Limit stretches to ±10% for natural-sounding results, like syncing a 110 BPM vocal to a 120 BPM project.
Your DAW’s editing tools make this precise. Use Monophonic mode for vocals and Polyphonic for instruments in Logic Pro. In Ableton Live, Complex Pro mode handles vocals cleanly.
Stereo imaging widens your mix using mid-side processing. Layer a pitch-shifted stretch on the right channel against the original on the left for immersive width. Spatial mixing then positions elements through panning and reverb, adding depth. These techniques help your mix sound polished and professional. In professional corporate environments, acoustic echo cancellation algorithms are configured within Digital Signal Processors to subtract far-end echo in real time, ensuring clean and natural audio capture across conference and boardroom systems. Pushing time-stretch settings to extremes can introduce audible artefacts that, when applied with intention, become useful textural elements in sound design and transitions.